Flashing the Car Thing
This page provides step-by-step instructions for flashing the Spotify Car Thing with the Thing Labs OS using the Terbium webpage. Prefer video guides? See the DeskThing Youtube Channel

Flashing with Terbium on Windows
Complete the following steps to flash the Car Thing.
1.) Navigate to thingify.tools, select the right arrow for the latest release, and select the download button to download “x.x.x-thinglabs.zip”.
2.) Extract the zip into an accessible location.
3.) Navigate to Terbium.
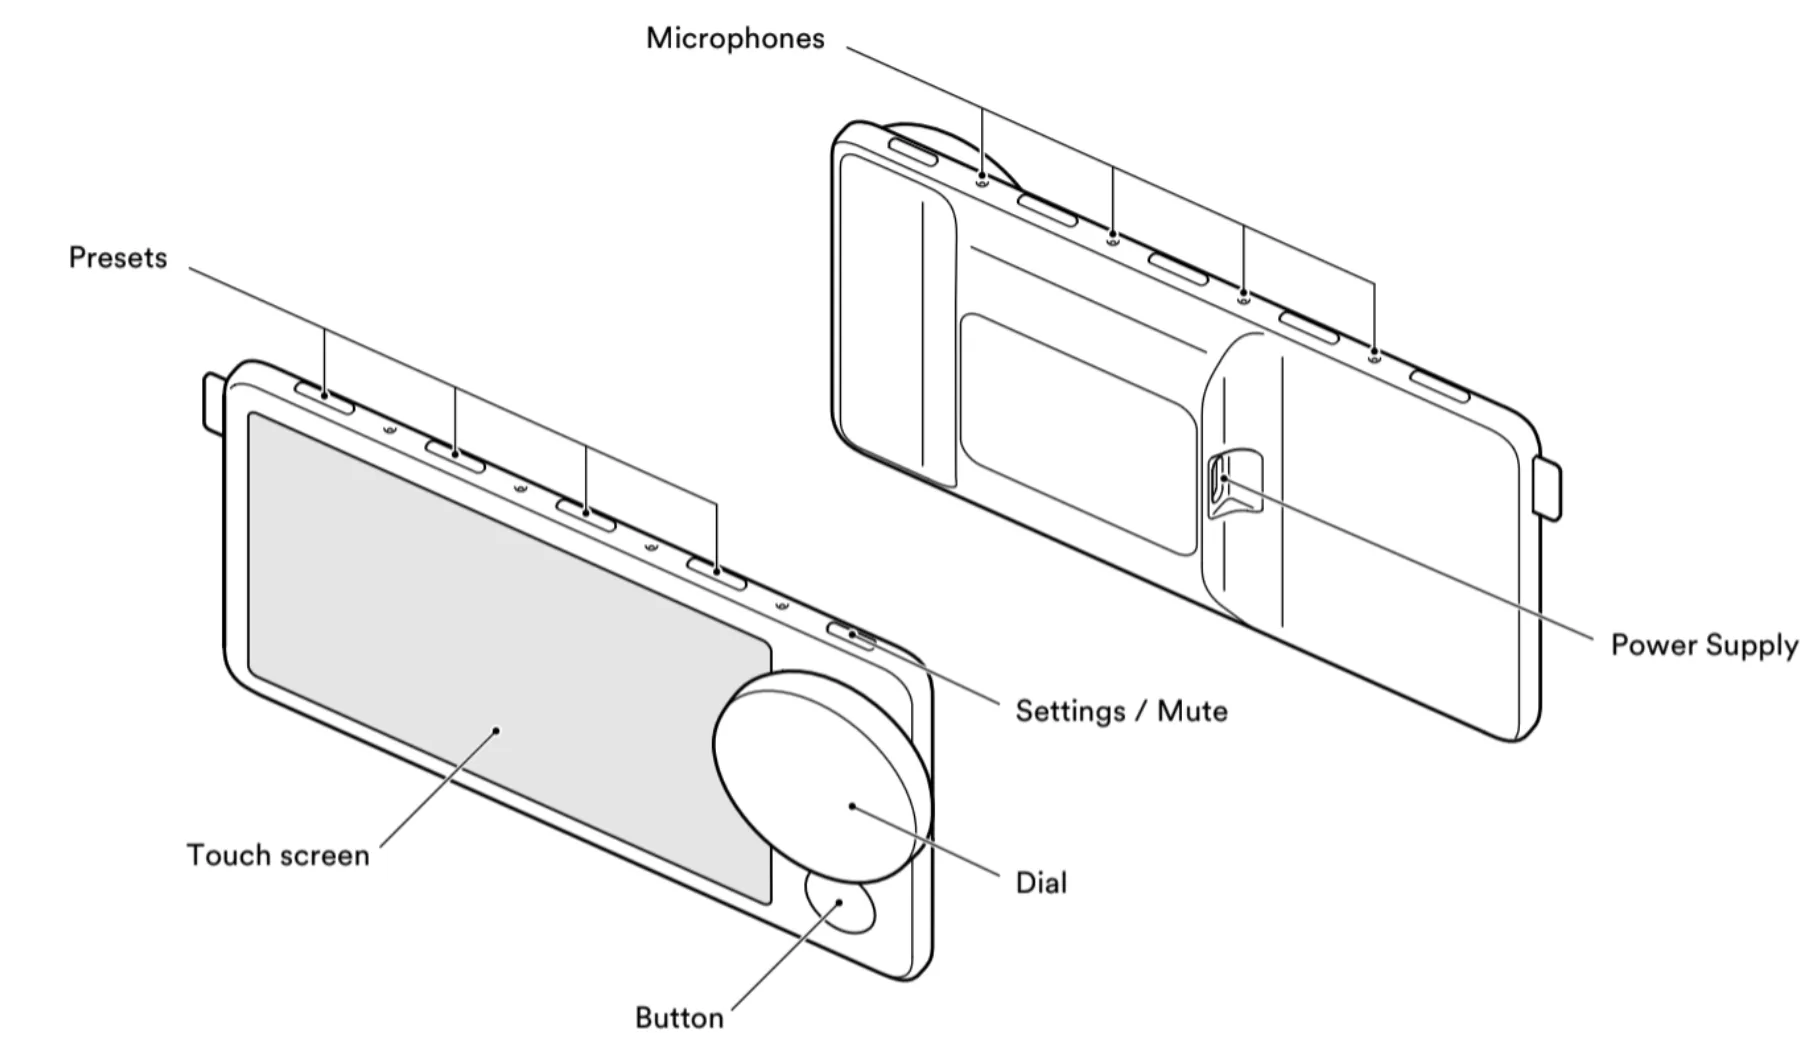
4.) Plug in a USB-C-to-C or USB-A-to-C cable into the Car Thing power supply USB-C port.
5.) While holding top preset buttons 1 and 4, plug the USB into the computer. This will put the device into USB burn mode.

6.) Flashing the Car Thing from Windows USB drivers to be installed. From Windows PowerShell, send the following command:
irm https://driver.terbium.app/get | iex7.) Select the Done button.
8.) A popup should appear in the browser with a device listed as “GX-CHIP”.
9.) Select the device, then Connect.
10.) The USB device will briefly reconnect, putting the device into burn mode. Select Connect again.
11.) A popup should appear in the browser with the device now listed as “unknown device from Amlogic, Inc”. Select the device, then Connect.
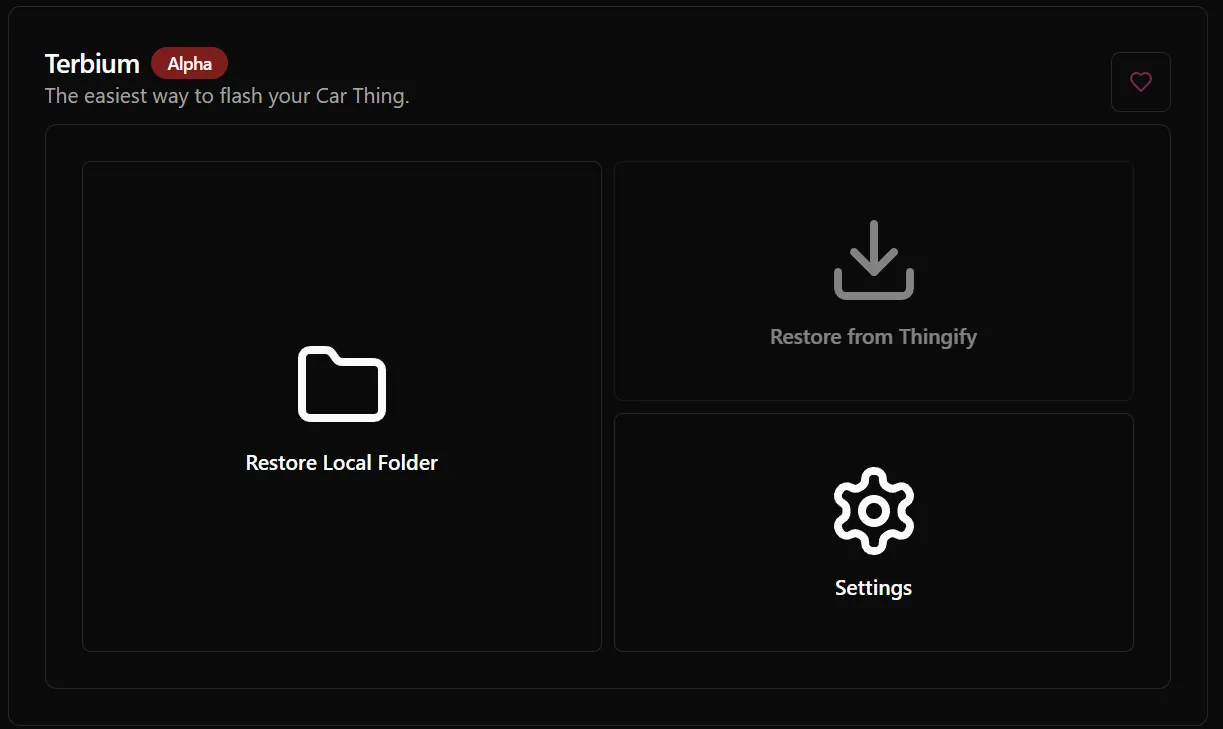
12.) Once connected, select the button Restore Local Folder, navigate to the thingify.tools extracted zip directory, and select Open.
13.) A popup should appear in the browser requesting access to view the directory. Give permission to the browser by selecting View files.
14.) Select the Select button to start the flashing process.
Congratulations! Your Car Thing is now flashed and ready to use with a Thing Labs or Community app.
Flashing with Terbium on Mac
Complete the following steps to flash the Car Thing.
1.) Navigate to thingify.tools, select the right arrow for the latest release, and select the download button to download “x.x.x-thinglabs.zip”.
2.) Extract the zip into an accessible location.
3.) Navigate to Terbium.
4.) Plug in a USB-C-to-C or USB-A-to-C cable into the Car Thing power supply USB-C port.
5.) While holding top preset buttons 1 and 4, plug the USB into the computer. This will put the device into USB burn mode.

6.) Select the Done button.
7.) A popup should appear in the browser with a device listed as “GX-CHIP”.
8.) Select the device, then Connect.
9.) The USB device will briefly reconnect, putting the device into burn mode. Select Connect again.
10.) A popup should appear in the browser with the device now listed as “unknown device from Amlogic, Inc”. Select the device, then Connect.
11.) Once connected, select the button Restore Local Folder, navigate to the thingify.tools extracted zip directory, and select Open.
12.) A popup should appear in the browser requesting access to view the directory. Give permission to the browser by selecting View files.
13.) Select the Select button to start the flashing process.
Congratulations! Your Car Thing is now flashed and ready to use with a Thing Labs or Community app.
Flashing with Terbium on Linux
Complete the following steps to flash the Car Thing.
1.) Navigate to thingify.tools, select the right arrow for the latest release, and select the download button to download “x.x.x-thinglabs.zip”.
2.) Extract the zip into an accessible location.
3.) Navigate to Terbium.
4.) Plug in a USB-C-to-C or USB-A-to-C cable into the Car Thing power supply USB-C port.
5.) While holding top preset buttons 1 and 4, plug the USB into the computer. This will put the device into USB burn mode.

6.) Select the Done button.
7.) A popup should appear in the browser with a device listed as “GX-CHIP”.
8.) Select the device, then Connect. you may need to setup udev rules to allow access to the Car Thing. Open a terminal and run the following command:
9.) The USB device will briefly reconnect, putting the device into burn mode. Select Connect again.
10.) A popup should appear in the browser with the device now listed as “unknown device from Amlogic, Inc”. Select the device, then Connect.
11.) Once connected, select the button Restore Local Folder, navigate to the thingify.tools extracted zip directory, and select Open.
12.) A popup should appear in the browser requesting access to view the directory. Give permission to the browser by selecting View files.
13.) Select the Select button to start the flashing process.
Congratulations! Your Car Thing is now flashed and ready to use with a Thing Labs or Community app.